Recently, I have been posting a great deal of content via my Instagram and
Project: Wood Cuts and Staining
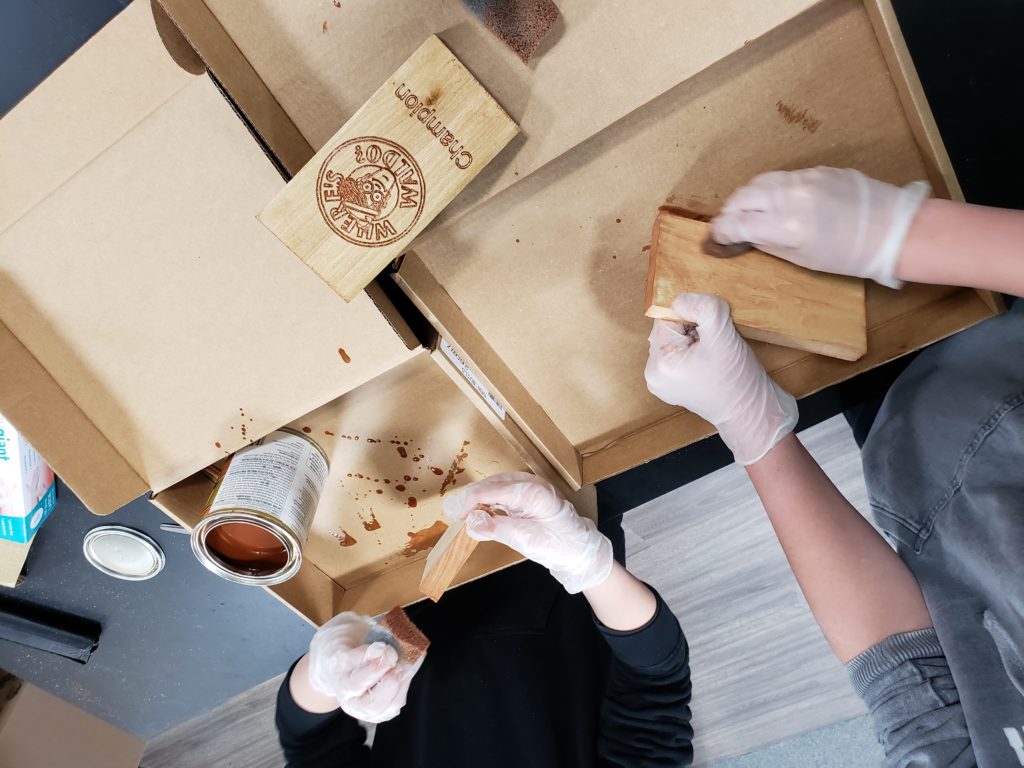
Why: Predominantly, we do these projects on a whim based on student interest. We make nameplates for kids or design plaques for special events in our library. For example, our most recent cut was for a
How: The machine we use is a Carbide 3D Nomad Pro which we have had for a little over a year. Using the their software, Carbide Create, we create the designs and manipulate the tool paths, depth, and a whole lot of other math related details. 🙂 Once we have a design, we send the SVG (laser cut file type) to the machine and it cuts. After the cuts are made, students choose a stain and we sand and stain the final products. For this, I use the Minwax PolyShades which has a polyurethane already included and we can do it with one coat. I grab a box of gloves from our nurse and cut up packing foam to use as brushes.
Project: ZeroPi Bot
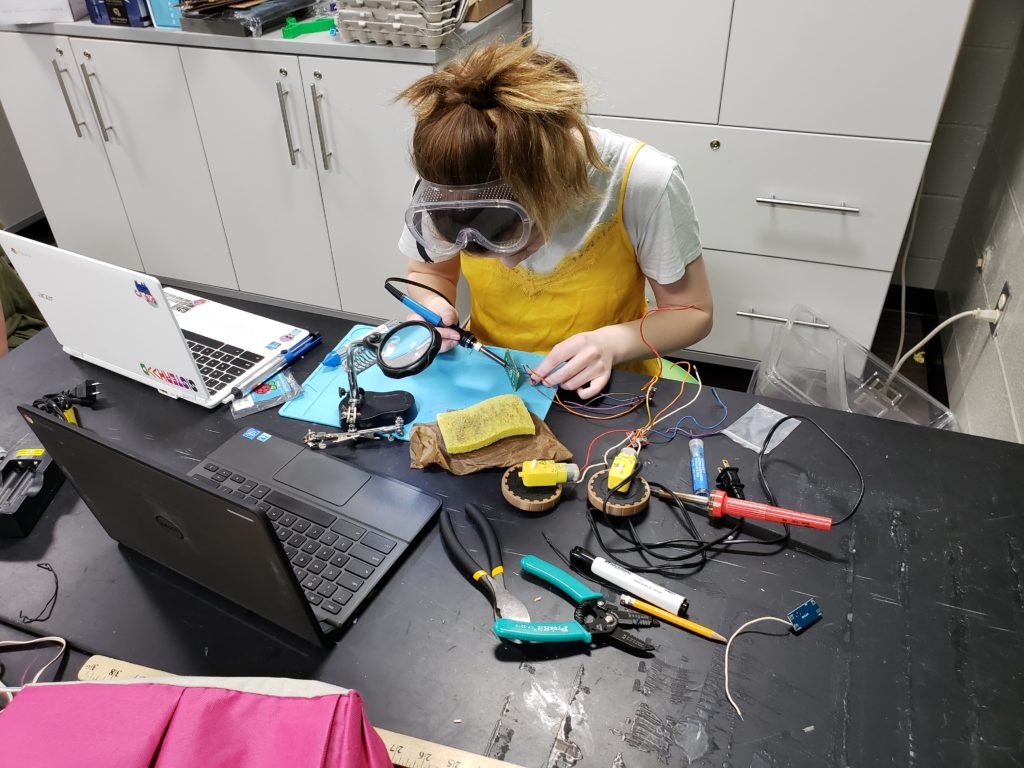
Why: This was a completely student driven project. I have three 8th grade girls who came to me in the fall and asked if they could build one of these. I knew nothing about them nor how to even get started. It is essentially a homemade robot similar to a Sphero Ollie but with a POV camera.
How: The girls did the research and essentially gave me a shopping list of components to buy. Again, I knew nothing. They used the glorious internet to figure everything out on how to build this robot. As of today, it is still a work in progress. Here is a link to a site which has driven most of their work. We were able to purchase all of the components on Amazon and 3D printed the shell of the robot at school.
Project: Sphero Charging Cabinet
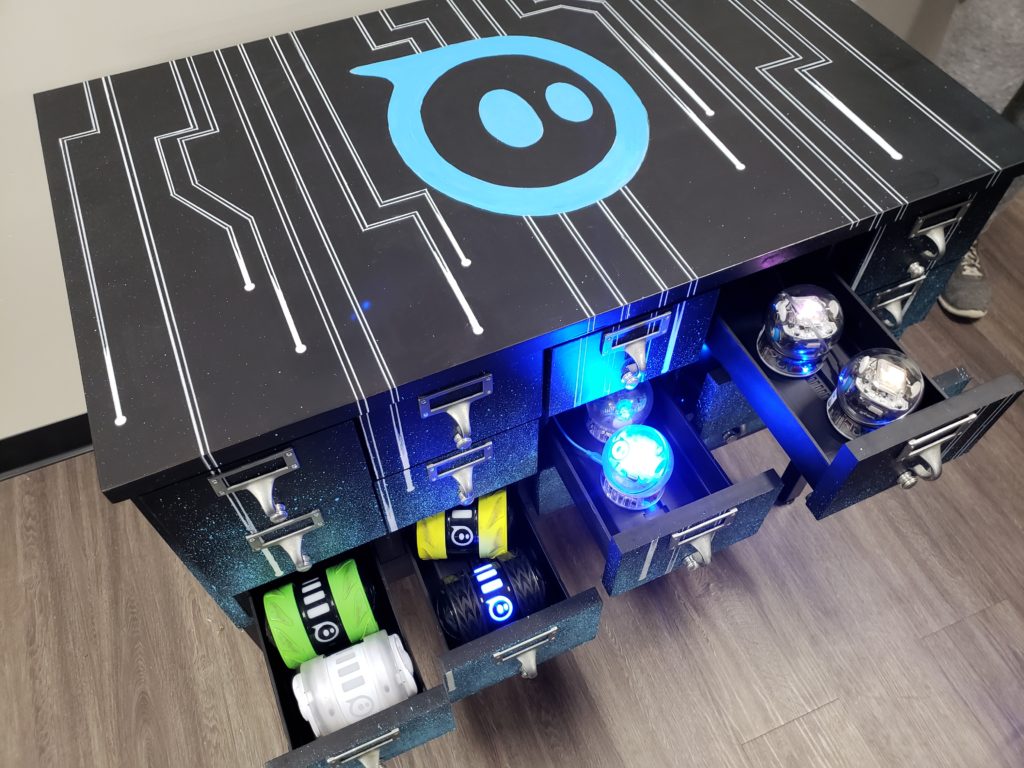
Why: For this project, it was one of those early morning run inspired ideas. It is funny what comes to your mind when out in the darkness hitting the trails. Essentially the “why” is I wanted to create a unique charging station for our Sphero robots. I talked some kids into helping me and it took off from there.
How: The great thing about this project is as we went along it ended up involving more people than originally intended as well as a great deal of learning. For starters, we had to locate an old library card catalogue cabinet. Luckily we found one at an elementary school in our district. After some cleaning and sanding, it was stripped down as much as it could be. We removed all of the drawers and hardware to clean and paint. Our art club took it from there and did the custom circuit board design on the exterior. Once it was done being painted my students worked on running the electrical throughout the cabinet to accommodate the Sphero charging cradles.
Side note on this project was the number of my students who had never used a screw drive, drill or hammer. Not to mention most of them did not know the difference between phillips head or flat head screw drivers. It made me think about how many skills we could be teaching our students beyond core disciplines which would have high “life” value to them.
Project: Rubik’s Cube Mosaics
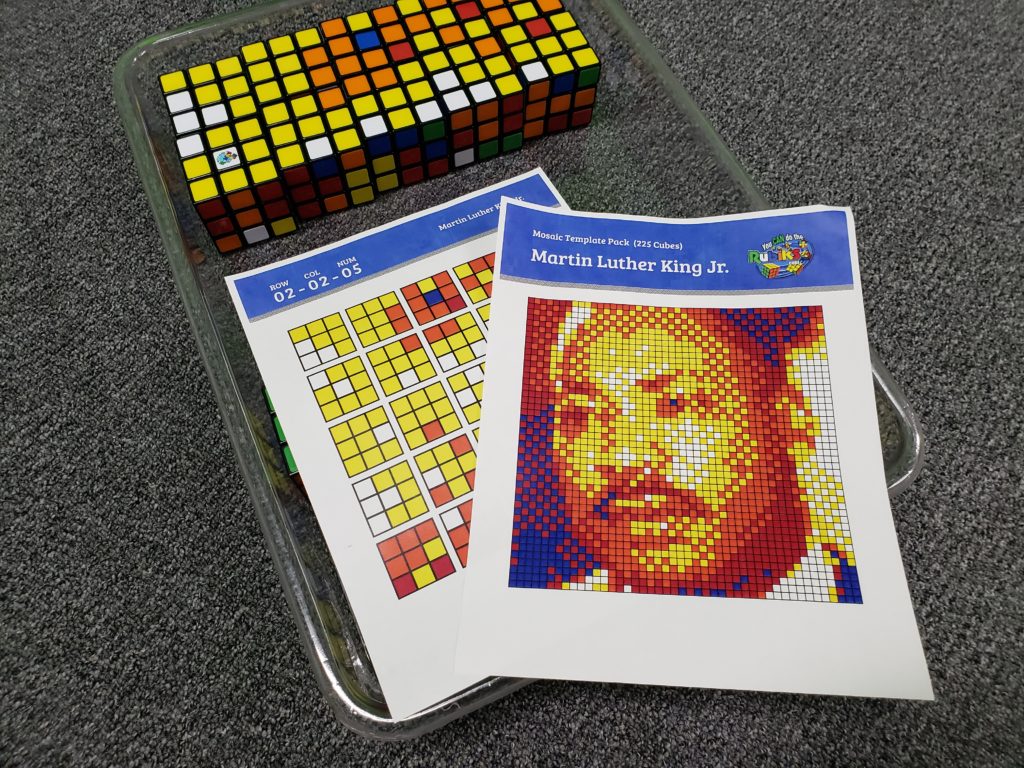
Why: Sometimes, it just about the fun. 🙂 This was started when I saw a tweet from another teacher librarian who had done this with her students. I thought it was cool and something my students would love. I was right.
How: The site youandthecube has resources for rental and purchase of large quantities of Rubik’s Cubes for these projects. In addition, they have templates for the mosaics and even a generator for you to use your own images. I wanted to be able to display these in our library so I build essentially a large shadow box with a plexiglass front. It was mounted on a wall in our library and allows us to change out the designs regularly.
Project: 3D Printer
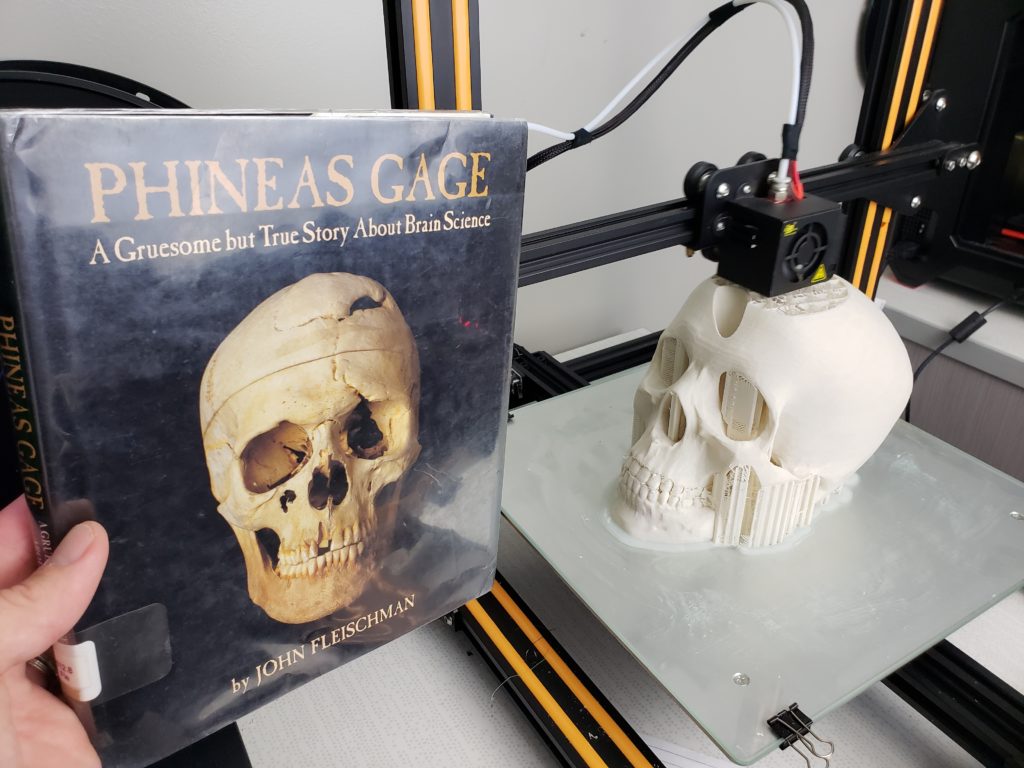
Why: I believe all kids should have access to 3D printers because there is so much value in a kid holding something they created. It is empowering and takes learning beyond simple drawings and sketches on paper.
How: We do so many projects on the 3D printer that I have a tough time keeping up. Our 3D printers are constantly running with projects. Some are created by me for use within the library while most are designed and created by the students. Our most popular print is the skull of Phineas Gage which proudly sits on the circulation desk. Recently, we had a bunch of students printing models of inventions for a science class project. They had to design a system for pollinating plants if all of the bees died. Kids were able to take their designs and print prototypes. I will also have random projects like an 8th grader who is constantly designing new beyblades to print. Go ahead and click the link because I didn’t know what they were when he first asked me to print one. 🙂
When 3D printing, my two go-to resources are Thingiverse and Tinkercad. Thingiverse is a library of models and designs which kids can grab to use and manipulate. Tinkercad is where my students and I do all of our designs and modeling. It is easy to use and has a great tutorial for newbies. I also have a page with some additional 3D printing resources.
I hope some of this is useful for those trying to get a project off the ground in your classroom or library. Sharing student work is always tricky as I don’t want to come off as self-promoting but I truly dig what kids can create and love sharing it. As always, if I can be of help or if you have questions about a particular project, reach out and ask.
One thought on “Maker Projects”
Comments are closed.